
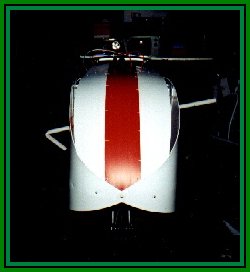
I followed Ed's directions for cutting and
applying the coraplast for the nosecone. However, for the small
side pieces on the top of the nosecone Ed says just to hold the
coraplast in-place and trace the shaped directly onto it. I was
working by myself and couldn't hold the coraplast and trace at
the same time. Instead I taped a piece of poster board over the
hole and trace onto it. I then cut out the template and trace it
onto the coraplast. I then cut the coraplast and it fit like a
glove. You need to do both side pieces individually, there will
probably be slight variations in width between the two sides.
Also, don't worry if you leave a small gap between two of the
pieces the tape will cover it up.
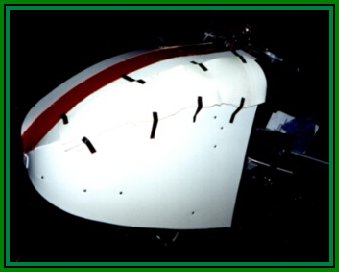

To bend the coraplast for the lower pieces you
have to heat the inner side of the piece. This can be done with
several tools a heat gun, a shrink wrap iron, or the heat source
I chose. I didn't have either of the previously mentioned tools,
so I took the piece of coraplast ran up the stairs from my
basement skunk works. In the kitchen I held the piece of
coraplast over the gas burner of my stove. Works great, one
suggestion don't bend the piece as much as is needed. Hold the
coraplast in the approximate shaped until it cools. The one
problem I encountered was the inner edge shrinks slightly when it
cools. This pulls the curve a little tighter.
![]()
![]()
![]()